Maintenance
Cleaning
Proper maintenance of your AGO Film Processor is essential to ensure its longevity and optimal performance. Regular cleaning after each use will contribute to the consistent delivery of high-quality film development results.
Follow this guidance for cleaning:
1. Ensure that the casing of the machine is not opened during the cleaning process. The screws at the front of the device should be tightly secured to maintain casing integrity.
2. Ensure that the AGO processor is powered off and disconnected from the power source before starting the cleaning process.
3. Use a wet cloth: The AGO processor cannot be fully immersed or rinsed in water. Instead, use a wet cloth for cleaning. Avoid the use of cleaning agents.
4. Gentle Cleaning: Use only soft fabrics when cleaning the front side of the AGO processor. Avoid using abrasive materials or excessive force, especially around the shaft, temperature sensor, and front panel.
5. Dry Thoroughly
By adhering to these cleaning guidelines, you contribute to the overall care and maintenance of your AGO Film Processor.
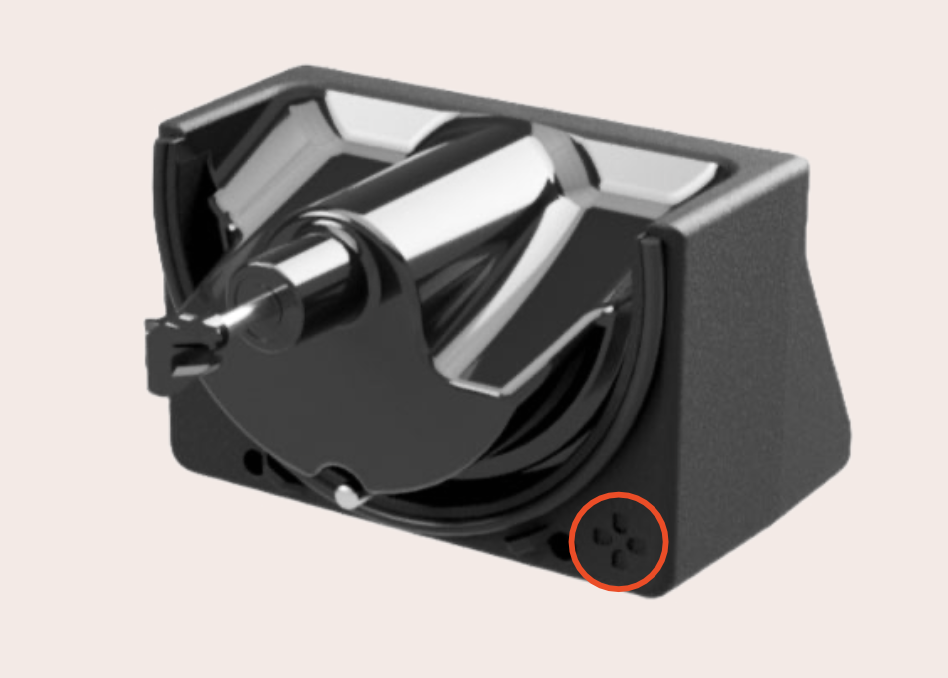
NB! Avoid pouring water onto the back of the device where the pressure equalization membrane is located. If you see drops of water, wipe or blow it clean.

Gasket lubrication
To maintain the gasket’s longevity and ensure watertightness, lubricate it after every 10-15 development cycles.
- Clean before lubricating: Wipe the gasket clean and dry to avoid trapping dirt under grease.
- Use High-Viscosity Silicone Grease: Apply a very light coat using a paper towel or soft rag
- Don’t overapply: Just enough to make it shine, as excess grease can cause the AGO to slip out of the Paterson tank.
For the EPDM seal, use a silicone-based grease or oil. Suitable options include silicone plumber’s grease, 100% silicone treadmill lubricant, or pure silicone-based personal lubricants, as long as they contain no water, fragrance, or additives.
Changing Batteries
Changing the processor’s batteries yourself will void your warranty. If you need to change the batteries, contact the nearest reseller to you (Find resellers at vintagevisual.eu/dealer-locator).
If your warranty is expired, you may change the batteries yourself by following the guidelines below.
Battery type and model: 2 x 18650 Li-ion. Make sure to buy authentic Panasonic/Samsung batteries from a reputable supplier.
Battery changing guidance:
- Ensure your machine is switched off
- Unscrew the two screws in front and two in back
- Carefully open AGO while making sure not to harm the wiring inside the machine.
- Remove the battery lock and remove old batteries
- Add new batteries and attach the battery lock
- Close the AGO casing carefully, look that the seal between casings is correctly in the groove and screw back the front panel.
- Attach charger
- Power ON
NB! Do not use sharp tools or methods that can potentially damage the device.
Shaft squeak noise
If your AGO begins to make a squeaky noise from around the shaft, a maintenance on the shaft must be done. Use a silicone grease and apply it to the shaft seal while the motor is running until the squeak noise is gone
